Editor’s Checklist: 8 Steps to Successfully Print a Children’s Book
As an experienced children’s book editor, Brooke offers tried and tested steps to successfully print-a-children’s-book.
Before you hit “print” on your next book, check-off these 8 steps:
Step 1: Have your book edited, copy edited, and proofread!
Step 3: Decide on your trim size, format, and page count
Step 4: Decide if you want to add any enhancements to your book
Step 5: Get templates from your printer
Step 6: Make sure your book is properly designed
Step 7: Come up with a storage/distribution plan
Step 1: Have your book edited, copy edited, and proofread!
It’s so tempting to believe that your book is perfect—that there are no issues and everything is exactly as it should be. But the truth is, no one can produce a perfect book on their own.
As an author, you’re too close to the book to see it clearly. You likely won’t know if there are plot holes, because to you they aren’t there (If you knew there were holes, you already would have fixed them!). And by the time you’ve read a book twenty times, you can’t see straight enough to know if there is a typo or a missing comma.
When it comes to self-publishing, your reputation is being staked on how good the book is. And while a print-on-demand model will allow for changes at any point, offset printing doesn’t. Once that book is printed, any typo in the book is there for good (or at least until the next printing)! Same with plot holes, consistency issues, and your character development.
So, before you hit print, make sure to have your book edited (to find those issues). Ideally, you’ll want an editorial assessment and a developmental edit. Then get your book copy edited to find those typos.
And once your book is laid out, get it proofread, to make sure the layouts look good, page numbers are where they need to be (or not where they shouldn’t be!), there are no strange word breaks, and no errors crept in during the design process.
Not sure how to go about finding an editor or what one really does for you? Check out “How to Successfully Find and Hire a Book Editor” and “What Is Editing”?
Step 2: Get your identifiers
Identifiers are the pieces of your book that help bookstores, libraries, and consumers find your book. These include ISBNs, Library of Congress Data, CIP or P-CIP data, and barcodes. All of these are crucial to successfully selling your book, but there’s a catch. Once your book has been printed, you can’t go back and secure this information. So make sure you file for this information before you send your book to the printer — and before it’s too late.
Need more information, check out
- “What are Library of Congress Control Numbers and P-CIP Data”
- “What Is an ISBN and How to Get an ISBN the Right Way”
- “How to get a Book Barcode”
Step 3: Decide on your trim size, format, and page count
When it comes to offset printing a book, the sky’s the limit for book size. But that doesn’t mean you should choose any size. Why? Because some sizes are more cost-efficient than others. They fit on a sheet of paper with less wasted space, and less wasted space means less money out of your pocket!
But deciding on your trim size isn’t important only for saving money. It’s also important to decide early so that you can make sure you are having art created to the right size—especially if you’re writing a children’s picture book!
For anyone writing a longer book, knowing your trim size will help you to figure out your final page count. And you’ll need to know that in order to get an accurate quote for your book!
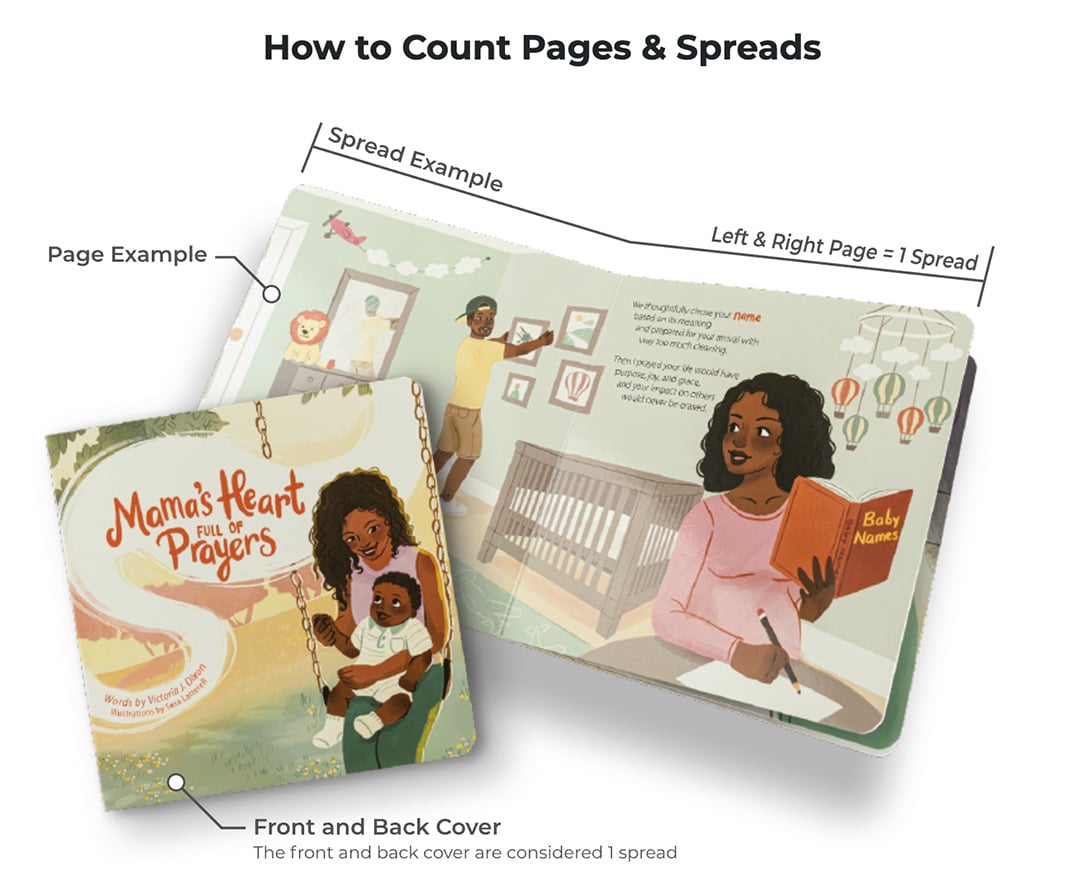
Note: If you’re planning a picture book, know that they are traditionally 32 pages plus end sheets (or 40 pages self-ended).
Want more information on end sheets? Check out “The Self-Publisher’s Guide to Understanding Endpapers”. For more information on what else goes into making a children’s picture book, check out “What Is a Picture Book”?
Step 4: Decide if you want to add any enhancements to your book
Offset printing your book means that you can add a variety of special effects to your book: glitter, foil, embossing, debossing, die cutting. You can add trading cards, stickers or bookmarks. If you can come up with it, chances are MCRL can add it!
But all of those special effects cost money, and each of them impacts the design of your book, so make sure to decide what you want before you submit files to the printer. Your book designer will need to properly plan for them in your files.
And while you’re at it, decide if you want your book to be printed as a hardcover, paperback, or both!
Step 5: Get templates from your printer
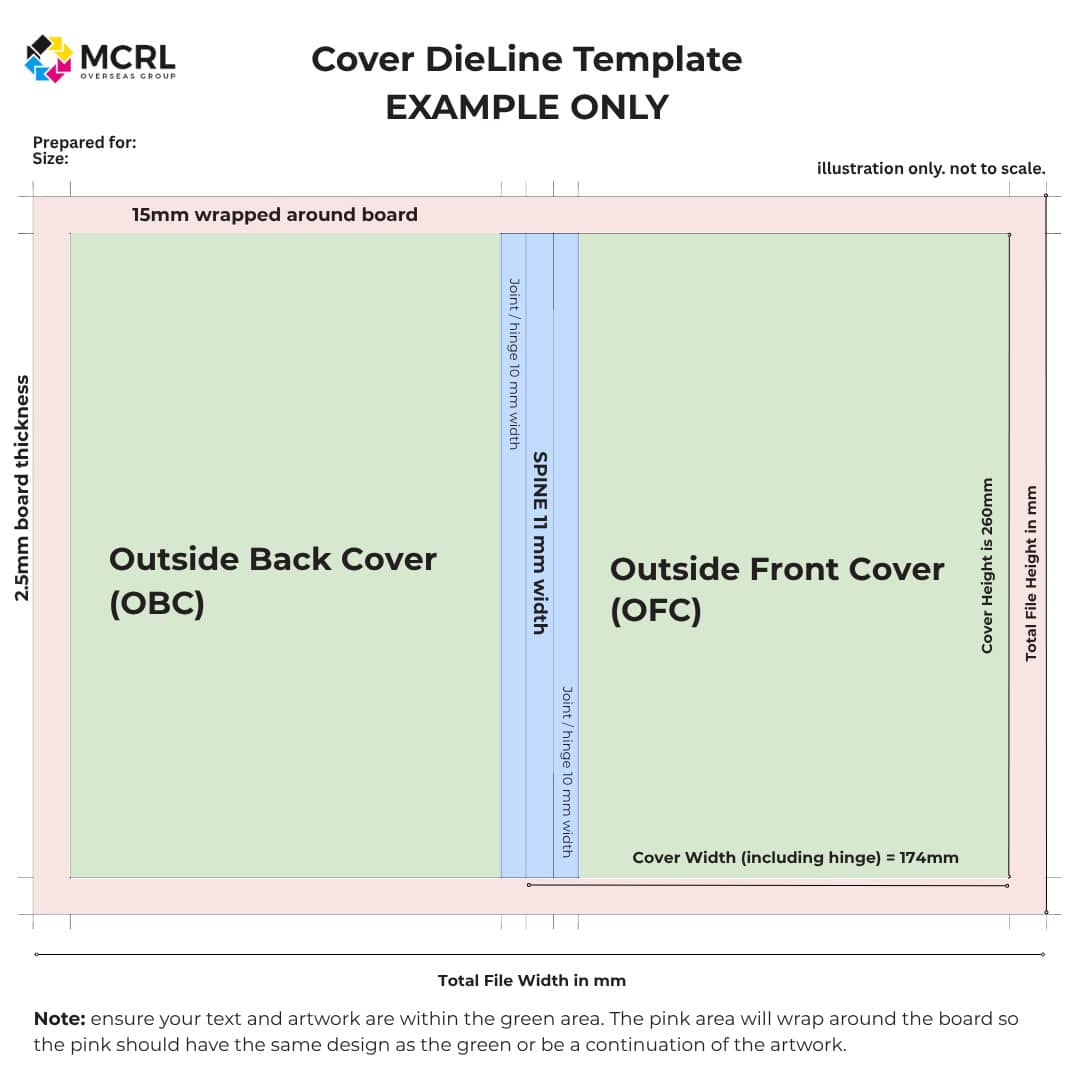
Once you’ve decided on the trim size and effects for your book, ask your printer for cover and interior templates. This will tell you (or your book designer) how to properly set up your files. Make sure to follow the templates exactly to avoid issues with the design once the book is printed.
Step 6: Make sure your book is properly designed
Part of this is the job of the proofreader. They will make sure that your page numbers are all there, no text is getting cut off, and that nothing is missing. But there’s more to designing a book than just making sure it looks good. You also need to make sure it’s printer-ready.
Remember that trim size you decided on? Now it’s time to make sure that your book is was actually designed to that size.
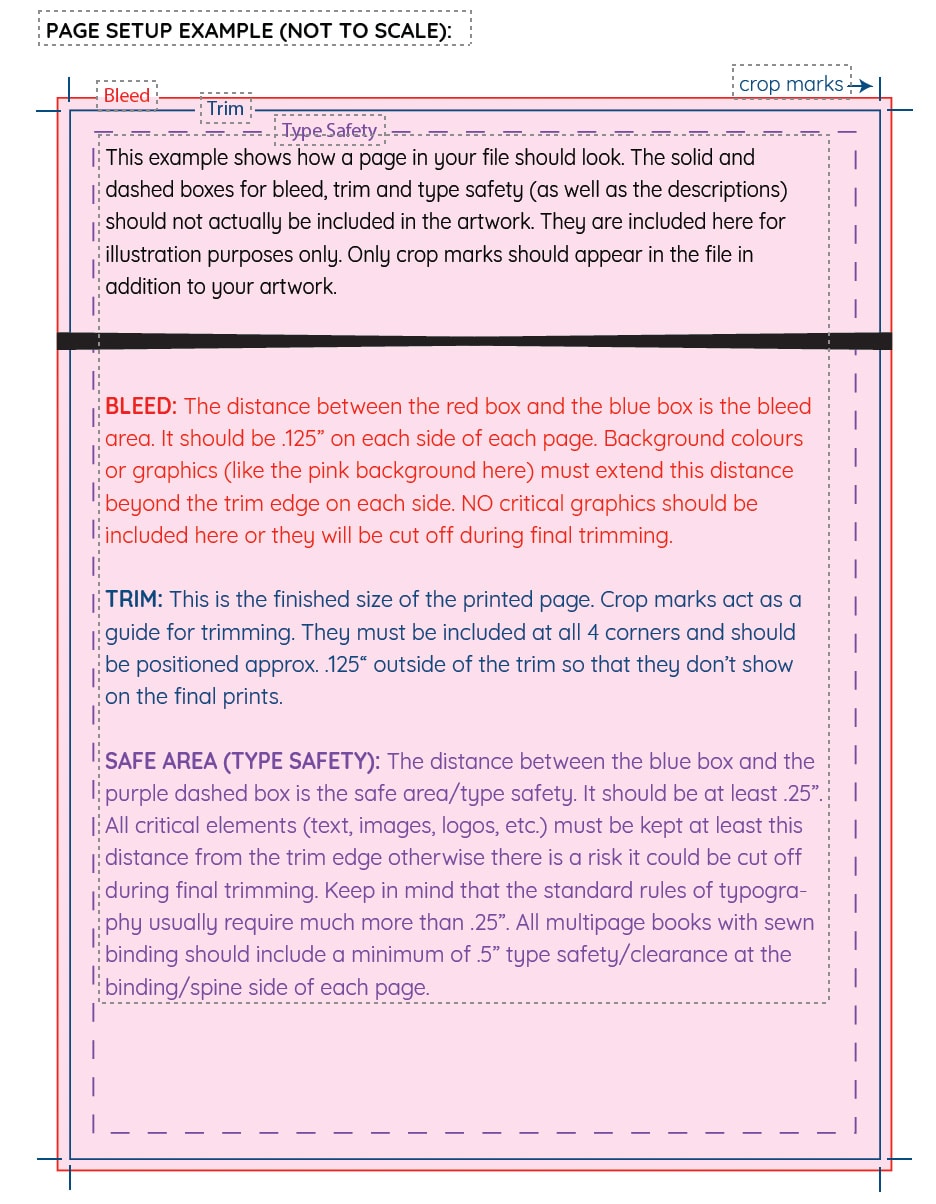
If you are printing a children’s picture book (or any other book that is art heavy), you also want to make sure that your art has enough bleed. I’ll say it again, because it’s that important. CHECK THE BLEED ON YOUR ART!
What does “Bleed” mean? It means your art should be created a bit larger than the trim size you plan to print at. When books are printed, it’s not uncommon for paper to shift a hair in the machines. By having extra art around your book, you can be sure that even with a shift, you won’t end up with white space on the top, bottom, or side of your art. And speaking of art, if you’re printing a book with art that spans across the gutter (the middle of the book), you’ll also want to double check that your files are set up properly to ensure that the pieces line up from left to right.
Step 7: Come up with a storage/distribution plan
The idea of printing your books is exciting, and the idea of getting to see the final product is even more exciting. But before you hit print on 500+ books, make sure you know how they are being delivered and how you plan to store them.
If your books are coming from overseas, find out if your printer will deliver books to you, or if you need to engage a freight forwarder (a freight forwarder will pick up books and deal with getting them on a boat and clearing customs). MCRL Overseas Group provides clients with an ALL IN QUOTE that includes tariffs, customs and delivery. This avoids any unpleasant surprises and provides expectations on delivery upfront.
You’ll also need to consider where those books are going once you get them. Are you putting them in the basement? Do you need to get a storage space? Deciding this in advance will ensure you have a plan for your books once they arrive. To maintain the quality of your books, a safe storage system is a must. Here are 3 book storage tips.
Step 8: Get printer proofs
Once everything has been sent to the printer, make sure you see printer’s proofs for approval. Proofs are your last chance to make changes to the book. They are your opportunity to make sure everything looks right, that there are no final text corrections, and that color is correct.
The beauty of an offset printer rather than digital printing is the ability to control color and make adjustments. So if you are printing a book filled with art, take special note of your color and ask for adjustments if it doesn’t seem to be printing properly.
Once proofs are approved, you’re ready to print!
If you found this article helpful, visit www.brookevitale.com | @brooke.vitale

